
In the present day of modern technology, flexibility and participation are included in the productivity meaning of workflow management. When you are working with documents quite often, you will come across instances when you have to upload that document to Google Docs. This need can arise intertwined with working with colleagues, being able to access your own working files from different devices, or simply because of the available features offered to authors in Google Docs. Here’s how you make the transition easily.
What are the reasons to import a Microsoft Word file to Google Docs?
There are several reasons why a user may likely transfer their Word files into Google Docs:
- Cooperation: With Google Docs, it is possible for all the participants to be able to edit a single document at the same time. It is very useful in the area of teamwork and common projects.
- Remote Access: Since Google Docs is cloud-based, you can access it on any device with internet, enabling you to carry your documents with you all the time.
- Data Recovery: Having those documents in Google Drive will help secure them from being lost due to any hardware malfunction.
- Changes Saving: It is a great plus of Google Docs that all modifications are made immediately and none of your work can be lost further.
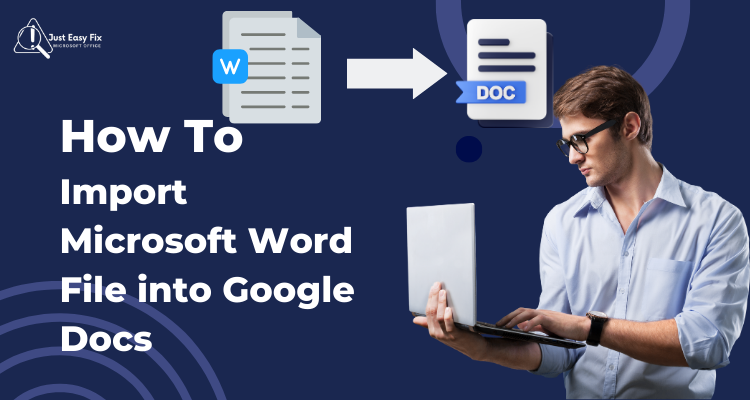
Step-by-Step Guide to Importing a Microsoft Word File to Google Docs
Step 1: Open Google Drive
- Go to Google Drive: Go to the Google Drive application as the first step.
- Log In: Use your Google account to log in. In case you don’t have such an account, you will need to sign up.
Step 2: UPLOAD THE Microsoft Word FILE ON Google Drive
- Click on “New”: Click on the “New” option, found at the top left corner of the Google Drive, close to the logo of the company.
- Choose “File Upload”: From the options appearing on the screen, pick option File Upload.
- Choose Your File: When prompted, browse your computer for the Word document you’d like to upload, highlight, and press Open. The Microsoft Word file will be uploaded to your Google Drive.
Step 3: Open the Word file via the Google Docs app.
- Locate the Uploaded File: When done uploading the document file, search for the file in Google Drive.
- Right-click on the Uploaded File: The next step is to right-click on the word, which is the file that you have uploaded.
- Click on “Open with” and go to “Google Docs.” After clicking the right mouse button, go to the menu and click on the “Open with” item, and then click on the Google Docs item.
Step 4: Change the contents of the file to Google Docs format.
- Change the Format: The document is opened in Google Docs in Word format. To change the format to Google Docs, click on the “File” portion at the upper left corner.
- Click on “Save as Google Docs.” On the submenu, click on “Save as Google Docs.”
- Your document is now converted and saved as a Google Docs file, which can be edited, shared, and collaborated as per requirement.
Q: Can I edit my Word document directly in Google Docs without converting it?
A: Yes, you can open and edit a Word document in Google Docs without converting it. However, some features might not be fully supported, and real-time collaboration is best achieved after conversion.
Q: What if I need to share the document with someone who only uses Microsoft Word?
You can download your Google Docs file as a Word document. Simply go to "File" > "Download" > "Microsoft Word (.docx)."
Q: Are there any file size limitations when uploading Word documents to Google Drive?
Google Drive supports files up to 5 TB in size, which is more than sufficient for most Word documents.
Q: Can I use Google Docs offline?
A: Yes, you can enable offline mode in Google Docs, allowing you to work on your documents without an internet connection. Your changes will sync once you’re back online.
Conclusion
Importing Microsoft Word files into Google Docs is a straightforward process that enhances your ability to collaborate, access, and secure your documents. Whether you’re working on a team project or simply need the flexibility to work from anywhere, Google Docs provides a robust platform for managing your documents effectively.
For any issues or more detailed support, you can always reach out to the Microsoft Professional Support.