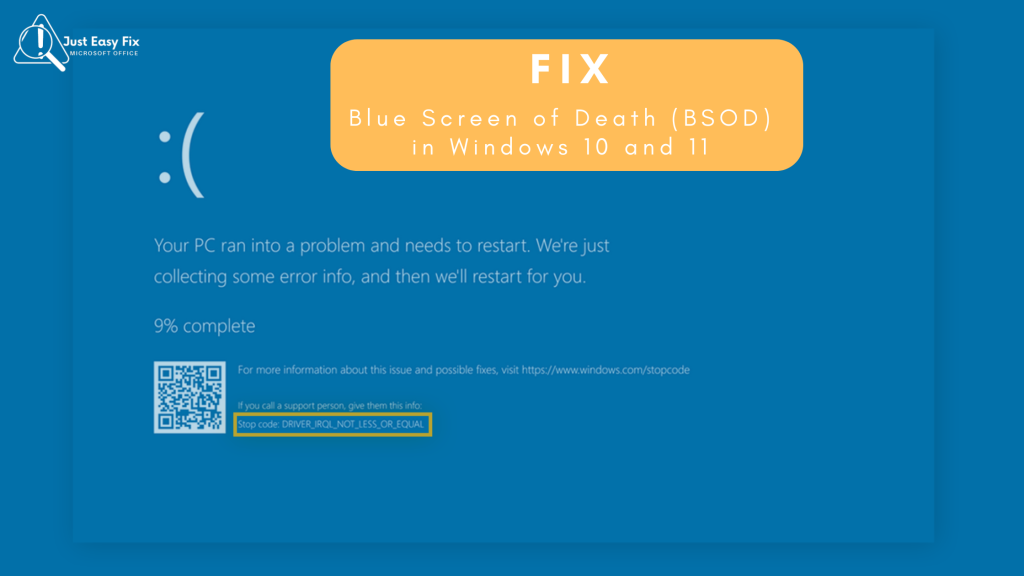
Surely, the one screen that every Windows user dreads is the Blue Screen of Death, the BSOD. It doesn’t matter if you’re working in Windows 10 or have moved up to Windows 11, these screens portray a critical error that has occurred in the system, and hence the computer needs to be restarted. Such issues can arise from a number of factors, be it a fault in some piece of hardware or a mistake in the software.
This post aims to outline the prevalent explanations for the occurrence of BSOD in the devices with operating systems Windows 10 and Windows 11, and also provides step-wise detailed instructions on how to effectively fix the issue to avoid its occurrence in the future.

What Causes BSOD in Windows 10 and 11?
BSOD occurs when Windows encounters a problem so critical that it needs to stop all operations. The reasons behind this can range from hardware failure to software corruption. Common causes include:
- Hardware issues: Faulty RAM, overheating, or failing hard drives can trigger BSOD.
- Driver conflicts: Outdated, missing, or corrupted drivers are notorious for causing crashes in both Windows 10 and 11.
- Software bugs: Poorly written or incompatible software can interfere with system processes.
- Corrupted system files: When core Windows files are damaged, your system might crash.
- Overclocking or BIOS issues: Overclocking your CPU or having a misconfigured BIOS can cause instability.
- Malware infections: Viruses or malware corrupting your system files might lead to a BSOD.
How to Fix BSOD in Windows 10 and 11
Whether you’re on Windows 10 or 11, the steps to troubleshoot a BSOD are quite similar. Here’s how you can go about fixing it:
1. Note the Error Code
When a BSOD occurs, Windows typically displays an error code or message (such as “IRQL_NOT_LESS_OR_EQUAL” or “CRITICAL_PROCESS_DIED”). Jot this down—it’s your first clue in diagnosing the issue.
2. Use Safe Mode to Isolate the Problem
If the BSOD occurs consistently, try booting your system into Safe Mode, which runs Windows with minimal drivers and services. This will help determine if a third-party driver or software is causing the issue.
- Press Shift while selecting Restart from the Power menu.
- Choose Troubleshoot > Advanced options > Startup Settings > Restart.
- After the restart, select Enable Safe Mode from the list.
If the BSOD doesn’t occur in Safe Mode, the problem is likely related to third-party software or drivers.
3. Update drivers
Outdated or incompatible drivers are one of the most common culprits for BSOD in Windows 10 and 11. To update drivers:
- Press Win + X and select Device Manager.
- Right-click on the device with an outdated or suspect driver, and choose Update driver.
- If you recently updated a driver and started experiencing BSOD, try rolling it back to the previous version.
4. Run Windows Update
Microsoft regularly releases updates for Windows 10 and 11 to fix bugs and enhance stability. Ensure your system is up to date by running Windows Update.
- Go to Settings > Update & Security > Windows Update in Windows 10, or Settings > Windows Update in Windows 11.
- Click Check for updates and install any pending updates.
5. Check Hardware Health
If the problem persists, your hardware might be the issue. Run the following diagnostics:
- Memory Check: Press Win + R, type
mdsched.exe, and restart your computer to run a memory diagnostic test. - Disk Check: Open Command Prompt as an administrator and type
chkdsk /fto scan for hard drive errors. - Monitor Temperatures: Use third-party tools to check for overheating components like your CPU or GPU.
6. Run System File Checker and DISM
Corrupt system files can lead to BSOD. Windows 10 and 11 both come with built-in tools to repair system files:
- Open Command Prompt as an administrator.
- Type
sfc/scannowand press Enter to run the System File Checker. - After this, run
DISM/Online/Cleanup-Image/RestoreHealthto check the Windows image and fix any system corruption.
7. Uninstall problematic software.
If BSOD started happening after installing a new app, try uninstalling it.
- Go to Settings > Apps in both Windows 10 and 11.
- Locate the app and select Uninstall.
If this fixes the issue, the software was likely incompatible with your system.
8. Disable Overclocking
Overclocking your CPU or GPU for better performance can sometimes lead to instability and cause BSOD. If you’ve overclocked your system, consider reverting to the default settings:
- Restart your PC and enter the BIOS (usually by pressing Del or F2 during boot).
- Look for overclocking settings and reset them to default.
Preventing BSOD in the Future
To minimize the chances of encountering BSOD in Windows 10 and 11, follow these preventive measures:
- Keep drivers and Windows up to date: Regular updates help fix bugs and improve system stability.
- Avoid unverified software: Only install apps from trusted sources, and avoid third-party programs that are not fully compatible with Windows.
- Regularly check hardware health: Run diagnostics on your RAM, hard drive, and other components to catch any issues early.
- Use antivirus software: Keep your system free from malware with up-to-date antivirus software.
Conclusion: Take the Fear Out of BSOD
The Blue Screen of Death can be alarming, but in most cases, it can be resolved with a few troubleshooting steps. By keeping your system up to date and monitoring hardware health, you can prevent future BSOD crashes and enjoy a more stable Windows experience. Whether you’re using Windows 10 or have upgraded to Windows 11, understanding how to troubleshoot BSOD will help you stay calm and fix the issue efficiently.
